Monday, October 14, 2013

Drying orange peels

When we lived in Fort Worth, there were a ton of organic stores I could go to for various ingredients.  One thing I used to buy was dried orange  peel...it is wonderful simming with cinnamon and cloves on the back of the stove during the holidays. 

I haven't had any dried orange peel in forever.    I was making ambrosia Saturday and decided to dry the peels so I could have some on hand.  Let me tell you, it takes a LONG time to clean the pith off a bunch of orange peels.  But it was totally worth it.

First I finished making ambrosia.  That recipe is HERE.  It is so good...and looks beautiful, see?  I make it all fall and winter long.


Okay, on to the orange peels.   When done with the ambrosia, you should have a bunch of orange halves that look like this.


Now, cut the peels into quarters.  Make sure you leave them in large pieces.  Small pieces are hard to hang onto and you can easily hurt yourself.


Now take the sharpest paring knife you can find.   I found that cutting down into the middle of the peel worked best becacause I could still hang on to one end.  You'll need to cut at an angle.  The goal is to cut away all the white....or as much as possible.  The white part (pith) is bitter.  I am going to use some of this in mulled cider so I don't want any bitterness.

So in sequence.  The first photo you see the membrane, second cutting it all away.  After doing one end, flip it and do the other end the same way.  The last photo shows the cleaned rind.


Take a break and drink some cocoa that sweet hubby surprised you with.  Pithing orange peels takes forever.  Seriously.  I mean, CRAZY long time.


Lay all your pieces PEEL side down and bake for about 3 hours on 200 degrees.  I did it while we were watching the game and just left them in the oven overnight.


I used about 10 oranges and ended up with this little treasure of orangey goodness.  


Oh my GOSH, it smells heavenly!  I love how bright the peels remained, and with the pith removed, no bitterness which means I can use it in recipes as well.

If you want to grind them, remember it takes a lot for a little!  I use my small processor.  About 1/2 cup yields a couple teaspoons.

Saturday, October 12, 2013

Annual Ornament Swap!


It is time for my annual Christmas ornament swap!  As always, this swap is for handcrafted ornaments.  

This year the theme is "Birds of a Feather!"  

Everyone was happy with last year's swap so once again, we are doing a "5 for 5."  
What this means is that you will be sending 5 handmade ornaments in and receiving a variety of 5 ornaments back. Last year we had a wonderful assortment of ornaments.  Once you join, I will send you the flickr info so you can upload photos of your finished ornaments.  You can also post on the swap blog.
You do not have to have a blog or webpage to join this particular swap.

To sign up, send me an email at valpowery(at)yahoo(dot)com with your name, mailing address and blog or flickr link/info.  
registration is CLOSED 
This will be a USA only swap.

Please create something you would love to receive and be sure to package your ornaments in a nice, re-usable box so I can mail your new ornaments back to you in it. Try to keep your ornaments light in weight.  Last year we had a few ornaments arrive slightly banged up so please take care when wrapping and make sure they are cushioned, etc.  We want all our ornaments to arrive in pristine condition!

Shipping: Last year I learned that the amount I suggested for shipping back to you was on the low side so please send in $10.00 to cover the cost of sending ornaments back to you.  This will also cover tracking.   Please include a return address label already filled out.

Ship in time for me to receive them by Thanksgiving.  I would suggest November 9th.  This will give them 1-2 weeks to reach me.  That way, I can get them in time to mail them out by the first week of December.  Sadly, I can't guarantee you getting an exchange box if your ornaments do not reach me in time.  (If that happens, I'll gladly return your own ornaments to you using the money you sent for shipping.)  
Shipping funds are important!  If you forget to include shipping, your ornaments can't be sent/returned until you have sent me the funds to send/return them to you.

If you finish your ornaments early, feel free to send them to me early so I can start organizing them.

If time gets away from you and you need to back out, no big deal, just drop me an email and I'll remove you from the list.  

I'm asking all participants to post about the swap on Dec 21st to show off the lovely ornaments they received!  I will link to everyone so no one has to hunt for people's blogs.  Just stop by mine and blog hop from here!

Also, don't forget to grab the badge to put on your own blog to spread the word!

Wednesday, October 9, 2013

Crochet eyeball pattern...freebie!


I have been making eyeballs for Halloween for years now and people always ask me how to make them.  I've never taken the time to write a pattern until now.

Supplies:
F or G hook.  I prefer "G" but either one is fine
ping pong balls in regular size
yarn in a variety of colors, including black and white
red embroidery floss
scissors, embroidery needle, tapestry needle

Although you are working "in the round" here, I've modified it a bit where you change color.  (You don't have to do this but I find that the color change is a little less obvious this way.)  I'm sure someone else has an even better way but this works for me.

Row 1: Starting with black for the pupil, work 6 sc into a magic loop.  If you don't know what a magic loop is, you can find it on Planet June.  She has the world's best tutorials!

When you get to the end of the 6th sc, slip stitch to connect it to the beginning stitch then pick up the colored yarn:

Row 2: Sc 2 times into each of the 6 sc around.  This will give you 12 stitches. 

 Again, slip stitch to connect it to the beginning stitch then pick up the white yarn. 


Row 3: *Sc 1 time into the next sc, then sc 2 times into the next.*  Continue around with this. * This will give you 18 stitches.

Row 4-Row 10: Now, just work 1 sc into each stitch.  I don't even count stitches here.  I just go around and around.  Use a stitch marker and count rows.  The shape will look like this:

Once you stuff the ping pong ball in, it fits quite well. The yarn should hit a little below the edge to begin decreases.  Some of the eyeballs didn't need as many rows.  Maybe my gauge was looser or the ball was smaller.  Also, yarn makes a difference, it the back of the eye is too large, just adjust your rows.


Row 11 & Row12: *decrease in the 1st sc, then sc in the next* around for both rows.  This gives you a tapered edge to work with.


Row 13: This isn't really a row, you are just closing the hole.  I slip stitch ACROSS the opening twice. Sort of like a slip stitched +
(That yellow yarn is my stitch marker)


Fasten off and using the tapestry needle, work in the loose end.

For the veins:
Using the embroidery needle and 3 strands of floss,  back stitch veins on the eyeballs.  I don't even tie knots, just work over the end.  The tension against the ping pong ball should hold it in place.  Continue making them until you have a nice pile.

Then add them to the others you made and put them "under glass" so the zombies don't eat them!


Sorry for the crappy photo but I'm too lazy to deal with lighting and all that.  

Monday, October 7, 2013

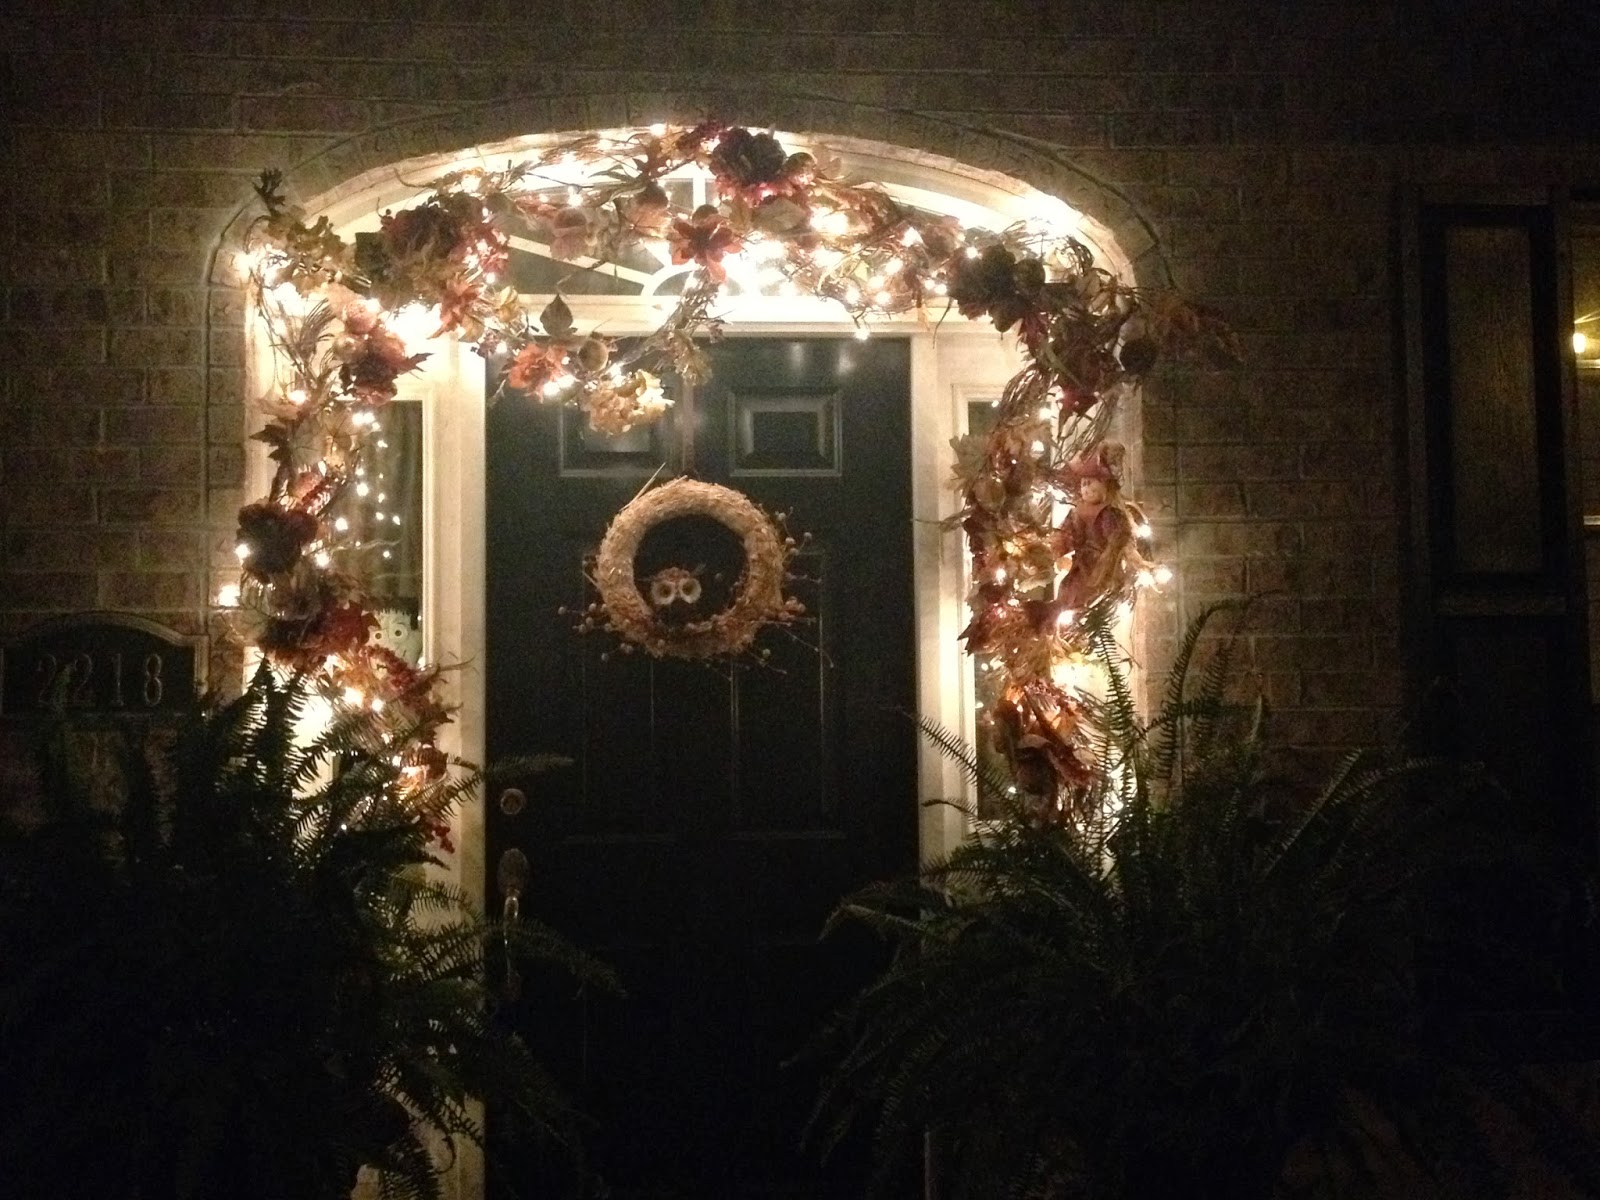
Hooo's there?

Sometimes I really really really love my front door!


Can you see Frankie peeking out the window?

Sunday, October 6, 2013

Halloween prep...

This weekend, I finished this wreath for a friend of mine.  I love that I got to do a little stash busting with this project.  


I also put up my Halloween decorations. 


My pumpkin patch is slowly being taken over by zombies!


And Alice joined them!  


I used paperclay for her head and made the mistake of not using tinfoil or a styrofoam ball as the form.  OH. MY. GOSH.  Her head is so heavy I could bash someone's skull in with it.  So heavy that she keeps folding in half and I have to prop her up.  

 Too bad, so sad.  I love her anyway. 

Saturday, October 5, 2013

Ahoy!

Matt's Physics class had the fun project of creating a cardboard boat.  They had teams and the fastest boat got the highest score ..which equaled the best grade.   He worked with a couple guys at someone else's house so I didn't get to see the boat until the "races."   
they all had to come as a team and name their boats....so creative.

I was SO glad I didn't have to work Thursday afternoon so I could see this!  The best part was watching them figure out how to GET IN the boats!  When girls were in it, they just picked them up....but no guy is going to let another guy pick them up....hysterical!

One boat didn't make it past "go."  It was the cutest boat too....a shark!


The boat ahead of it did pretty well....


Matt's team and their boat "Baywatch."


And they are off!  Matt's long arms came in "handy!"


They won 2nd fastest amongst all the classes which gave them a really good grade!


Wednesday, October 2, 2013

Halloween Giveaway!

Wanna win this cutie?  Then hop over to Kerry's blog and leave her a comment.  


Better yet, DON'T so I'll have a better chance of winning him for myself!  hahahaha!
Related Posts Plugin for WordPress, Blogger...