
Wednesday, April 17, 2013

A little B&E

Kaela's science class has to do this egg drop challenge that is so popular right now.

Sounds like fun, right?   Well....except that it has to free fall from 3ish stories up.  And the materials list is absurd.  No tape, no cartons, no pod, no fluff, no more than 1 sheet or paper, no parachute, no wings, no rubber bands, no...no...no...no!

Her teacher apparently Googled successful egg drop designs and made sure NONE of those materials were allowed in order to really frustrate her students....I mean CHALLENGE them (ahem.)
And the best part?  If your egg breaks, the highest grade you can earn is a "C."   Gee, thanks.   

That being said, I love science and a good challenge and Kaela is a good sport......so off we went.

Here she is.....test "dropping" the design...which survived numerous 2 story drops from home.

Aw, nuts...CRACKAGE!  AGH!!!  3 stories was just 1 story too high!  The wind caught it and flipped it about 6 inches from the ground.  Not a problem, we can FIX that.....


So we crawl back out the rabbit hole we came in from...


And jump back over the fence we jumped over...
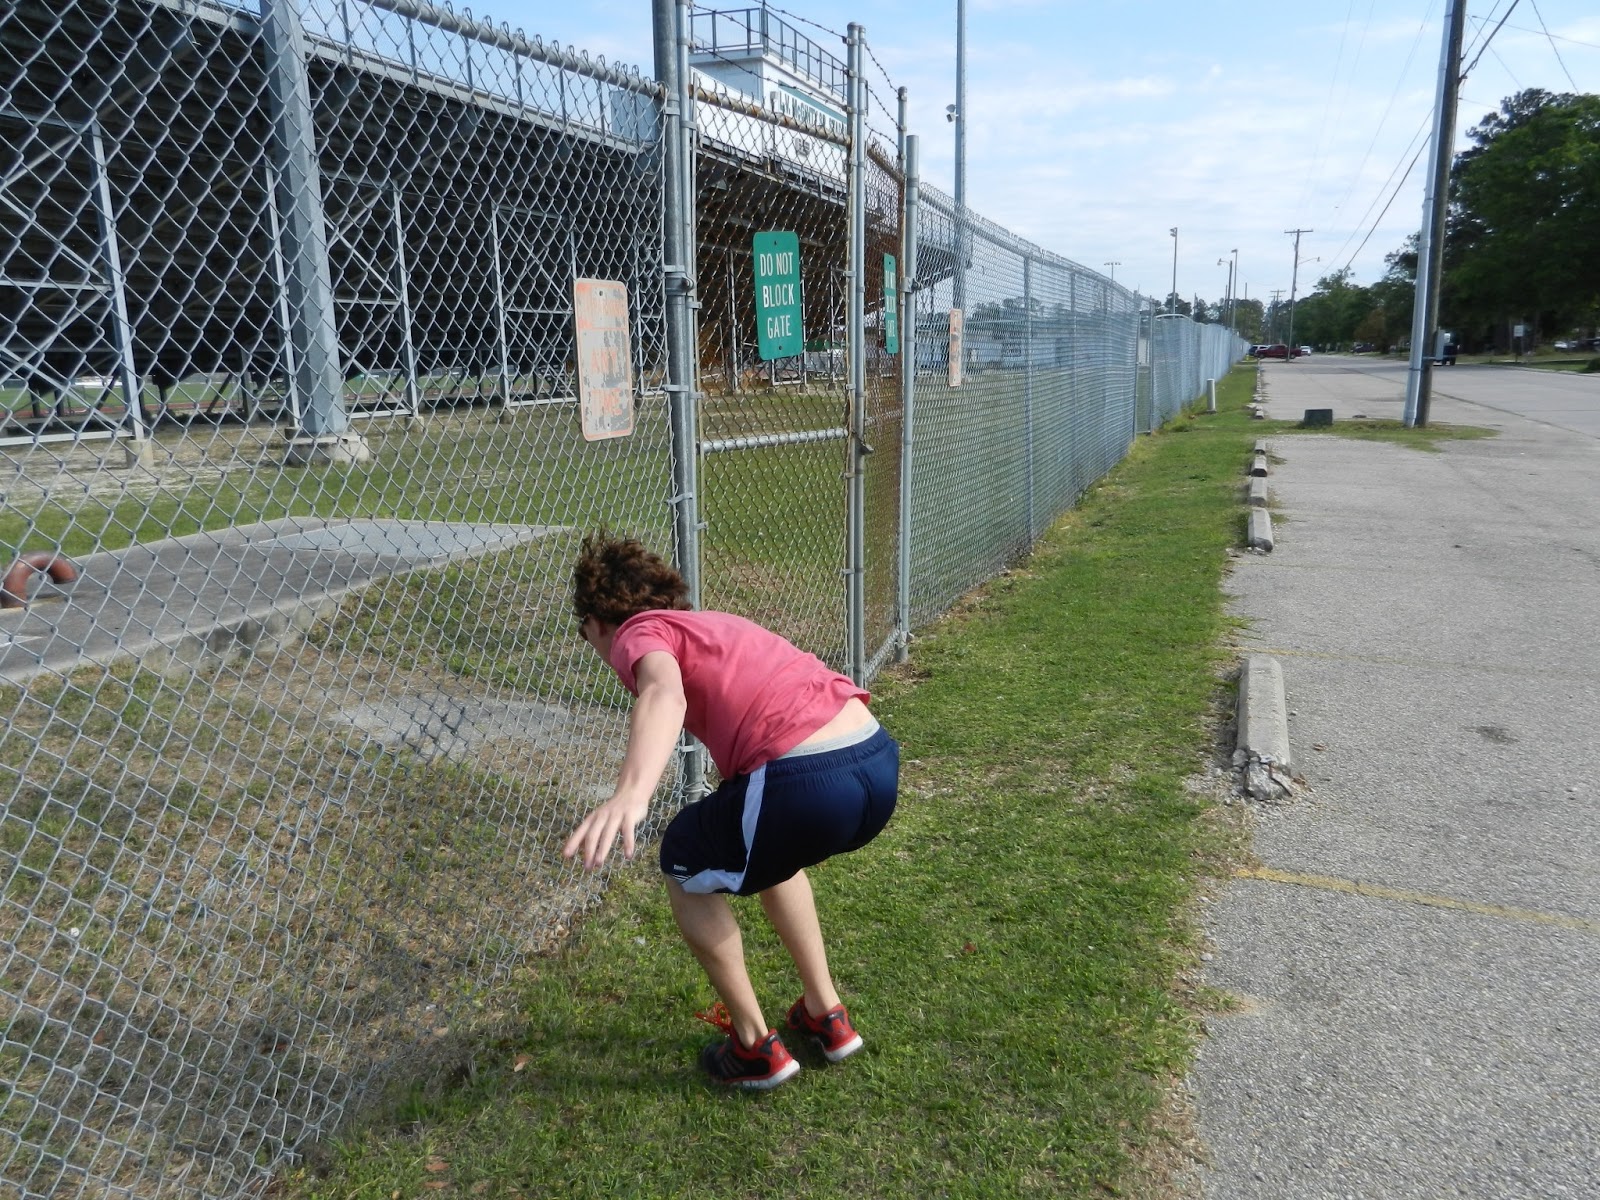
Oh yea, forgot that part.  School was closed so we had to break in to test our prototype!  The kids thought we were completely nuts and kept checking for the "Po-Po"......

Monday, April 15, 2013

Happy Birthday Honey!

The day Dean was born, the nurse called him a "tax day baby."   He may be, but he is a lot of other things too...


He is a man of many talents...just a few of which are being my sweet loving man, the wonderful father of our two children, the DIY guy who neighbors love, the margarita maker, the Johnny Dollar listener, the fixer of all things broken, the bringer of the bread, the smoothie inventor, the pull over and helper, the weird fruit bringer, the weekend grill meister, the fashion guru, the feed the homeless luncher, the kid rough-houser, the landscaper, the sad/bad day hugger...and I am so very blessed to call him my husband!

Happy Birthday honey, I hope you have a wonderful day, you deserve it today and everyday.  I love you!!!!!

Saturday, April 13, 2013

old habits...

Suki has been with our family now for almost 5 years...and most of her old habits are gone, which is good.  She is a full fledged member of our household and no one would ever know she was once a feral kitty.

Gone are the days of her running and hissing at the dogs or hiding under beds.  Her brittle coat has been replaced with a lovely soft one.    She constantly purrs....and loudly!

But the best thing is that her greeting has changed.  If she hasn't seen you in awhile....like first thing in the morning, or when you get home, she flops onto her side and exposes her belly so you can rub it.    (If you know anything about animal body language you know that is important.)

There is one habit she hasn't totally given up.  And it cracks us up whenever she does it.    
She still likes to cuddle up on our shoes!   
Old, new, stinky, not stinky, open toes, closed toed our shoes or a friend's, it doesn't matter.  Cold days, warm days, rainy days....we simply can't figure the pattern out.

At 8 pounds, she is small and I've found her half stuffed into Matt's basketball shoes, totally asleep...on more than one occasion.   We don't check for spiders in shoes, we check for Suki!


Whatever the reason, this is one habit that we don't worry about....
"The smallest feline is a masterpiece..."  - Leonardo DaVinci

Friday, April 12, 2013

Home made eye makeup remover

If you are a woman who wears eye makeup but you HATE paying the ridiculous prices charged for makeup remover....this post is for you.

When I was in my teens, my sisters and I used this green gel makeup remover by Revlon.  It came in a jar and we lovingly referred to it as the "green goop."  It was AWESOME ...the best eye makeup remover ever.
We (and all our friends) were all horrified when they discontinued it.  

Since then, I have had a love/hate affair with eye makeup removers.  I have sensitive eyes so some brands really sting, some dry the skin out around my eyes, some are greasy on my skin, some leave a film on my eyes, some simply don't work that well...the list goes on.  I worked in cosmetics for years so I've tried just about every name brand out there, even the really expensive, high end brands.  Sometimes I just use baby oil but that is just too greasy for me to use all the time.  Most of the time, I just bite the bullet and spend unreasonable amounts of money.

Until now!  I found a home made one on pinterest and am so glad I did. This stuff  takes less than 2 minutes to make, is cheap and it WORKS!  No stinging... no dry, pulled skin...no greasy film.....

Look how cute our little bottles are....the little pad in front is proof that it also works on waterproof mascara, which makes Kaela a very happy girl.


The best thing is that you probably have the things you need in your cabinet.    I don't want to steal this gal's thunder so click on this link for the "recipe" (water, a certain brand of baby shampoo and olive oil.)  She gives you the correct measurements....use them.
I tried to use less shampoo and it wasn't as effective so added the remaining amount.  You'll get about a cup of remover for pennies....much better than the $28.00 I usually pay.

Wednesday, April 10, 2013

Feeling good......

Matt is feeling good.   We bought him a new suit the other day.   A lady who was there with her family walked up and told him he looked like a model.   Talk about an ego boost.  I think he grew an inch taller after that comment.
Of course, we think he is pretty special...


As for the new suit?  Well, last night he got inducted into the National Honor Society!   He is pretty jazzed.....his ACT scores rock and his college prospects are looking great...


I can't believe next year he will be a Senior...my how time flies.  Enjoy your kids while you can folks.....

Monday, April 8, 2013

Pinteresting Toadstool Wreath

I found this cute wreath on pinterest and decided  to make one for myself.   I mean, polka dotted toadstools and moss....what's not to love?


If you want to make your own, here is the link to the tutorial.   The one thing I would suggest is that you look CLOSELY at the moss you buy.  Elizabeth's wreath has no seams....her moss must have come in large sheets.  The moss I used was broken up and the few large pieces tore easily so I had to piece it together

I want to leave it outside for at least 2 months so I did make a few changes:
Even though we have a large porch, my front door takes a lot of abuse from the elements.  I didn't think the fabric or card-stock would hold up so I made my toadstools out of polymer clay.  Each had about 2" of coat hanger sticking out the bottom to secure the toadstools to the form.  


Even though I love mine, I wish my moss wasn't pieced together.  If I do another one, I'll be SURE to check the moss before buying it.  Other than that, I'd call this a success.

Saturday, April 6, 2013

Turtle Topiary Tutorial


Turtle Topiary Tutorial....say that fast 5 times!  Ha!

Here are the supplies:

Turtle frame ...I bought the medium frame here.
Sphagnum moss, bucket with water to soak it in
Small assortment of succulents
Fine wire to wrap and nippers to cut wire, needle to finish.  
Something to poke holes in the moss
Gloves to wear because I had a cut on my hand and sphagnum moss can be nasty
Choice of plastic eyes 

Getting started:
Soak the moss thoroughly and then pour off excess water.
Start by flipping the frame over and stuffing the shell full of moss...this is a side view so you can see how full I packed it.  


Flip it back over and pack the top and sides of shell.  Using wire, generously wrap so the moss will stay put.  
Here I am tamping it down.  You can see the wire in the photo.
Once you get it where you can't see the frame, wrap once more but don't clip the wire.  Put something heavy on it to keep it tight while moving on to the neck.


Start on the neck and head.  Take 2 handfuls of moss, one for either side of the head.  Hold the moss to the head and wrap with the wire being sure to go down the neck and back up to the head a few times.  Don't wrap so tightly that the wire pops but wrap tight enough that the neck has an actual shape to it.  End with the wire UNDER the turtle at the base of the neck.
Again, secure the wire with something heavy to keep the wire tight.

Flip the turtle over and start on the tail and legs.  Have your moss ready and work each extremity like you did the head and neck.  You will be working in sort of a star pattern with the wire criss-crossing under the shell.  This keeps the wire tight while you work and keeps you from having to cut and tie the wire each time.  
I didn't take photos of the process because my helper left and I didn't have four hands.

Starting at the neck, run the wire to the TAIL. This keeps the neck wrapped tightly.  
From the tail, run the wire to a front leg.  This keeps the tail wrapped tightly.
From the front leg, run the wire to the farthest back leg.  This keeps the front leg wrapped tightly.
From the back leg, run the wire to the other front leg.  This keeps the back leg wrapped tightly.
From the front leg, run the wire to the other back leg.  This keeps the front leg wrapped tightly. Don't cut the wire but keep it tight.

At this point, we have a monster from a Scooby Doo movie, but don't worry about that, just keep going.  
See that bit of wood in the lower left corner?  Yep...throw that away.


After you do the last leg, run the wire back to the neck and wrap it around the base a couple times to secure it tightly but don't cut the wire.

There are two ways to secure the wire, I did it the 2nd way:
1.  Cut the wire and use the plastic needle to tie it off.
2.  Secure the wire to the plastic needle and shove it into the base of the neck under the body.  If you do this, make sure you shove the needle in at an angle so that will stay tight.

Poke holes where you want the plants to go.  
Just shake off most of the soil and cram them into the holes you've made. 

Placing the eyes.
If the animal eye stems are short, lengthen them by wrapping with the wire.  Mine were long enough so I didn't need to do that.
Poke the plastic animal eyes into his head and you are almost done. (you can get them online or at craft stores) 

Here he is before trimming....still a rather furry turtle.  I wonder if furry turtles existed...like furry elephants?


Now, take some scissors and trim off any moss that is hanging off of him.....then place him in the garden.  Once he dries, be ready to trim him a bit more....
If you use succulents, you can let him get bone dry between waterings.  To water, place your turtle into a bucket of water and soak him thoroughly.  Other than that, just put him in the garden and watch his shell grow.  
BTW, I looked up furry turtles and found this critter on youtube.  Not exactly FUR, but still too cute not to enjoy.

Related Posts Plugin for WordPress, Blogger...