


I love my Starfish Santa ornaments!

Mine are about 30 years old. I made 15 to start with and over the years have given them away, one by one.
Each time someone asked for me to make them one, I'd just take it off the tree and give it to them.
Now I have 3 left so thought I'd better make a few more and in the process I'd share how to make them.
Supplies:
- Starfish: I use small to medium sized starfish. I also look for the shape of the limbs, etc. I want Santas jumping, dancing and having fun!
- craft paints in red, black, flesh, white and metallic gold
- gold glitter
- sponge craft brush
- small paintbrush
- hot glue
- toothpick
- thread for hanging
- clear spray varnish
*Note: When 'painting' you are actually going to dab because of all the little bumps on the starfish. Trying to paint a straight line is nearly impossible.
1. Using red and the sponge brush, paint the entire starfish, front and back.Use a LOT of paint because starfish are porous and will absorb the paint. Use the edge of the sponge to get into the crevices along the back of the limbs.

You will use the paint brush for the rest of the painting...
Now...here is the fun part! Hold your starfish up and look at the limbs. Figure out what this Santa will do.
will he be swaying to Christmas music?

or jumping and dancing?

Once you decide, don't forget which limb is his head.
2. Using flesh, paint the ends of the arms and the face. Let dry.
When you do the face, you'll just make an oval spot where the face will be.
Don't place it too high because the tip of the head will have white on it.
I place mine about 2/3 of the way down limb.

3. Using black, paint the ends of the feet and belt. Then using a toothpick, make his little eyes. Let dry.

4. Using white, go over the area where the fur trim would be:
around his face
tip of hat
above the boots
above the wrists.
fill in for the beard and mustache: For the beard, you'll basically make a long oblong shape that ends above where the belt buckle will be.
Then, fill it in with white, leaving a spot of red visible to make the mouth. If you forget and paint everything white, just go back later and make a little mouth with the red paint.Let dry.

The beauty of this project is it is sooooo forgiving. If you goof up on Santa's face (or anything else) just paint that limb red and then start it over.
5. Using metallic gold, paint the buckle. While wet, sprinkle with glitter if you want and brush off the excess later.
From this angle Santa looks unhappy...but he isn't, just an illusion because of the bumps...no worries!

6. Spray with clear gloss and let dry. (optional)

7. Now, flip Santa over and give him a
Put your thread together and lay it in the natural crevice along the limb.
Don't put a knot in it, the crevice isn't that accommodating because of the bumpiness of the spines.
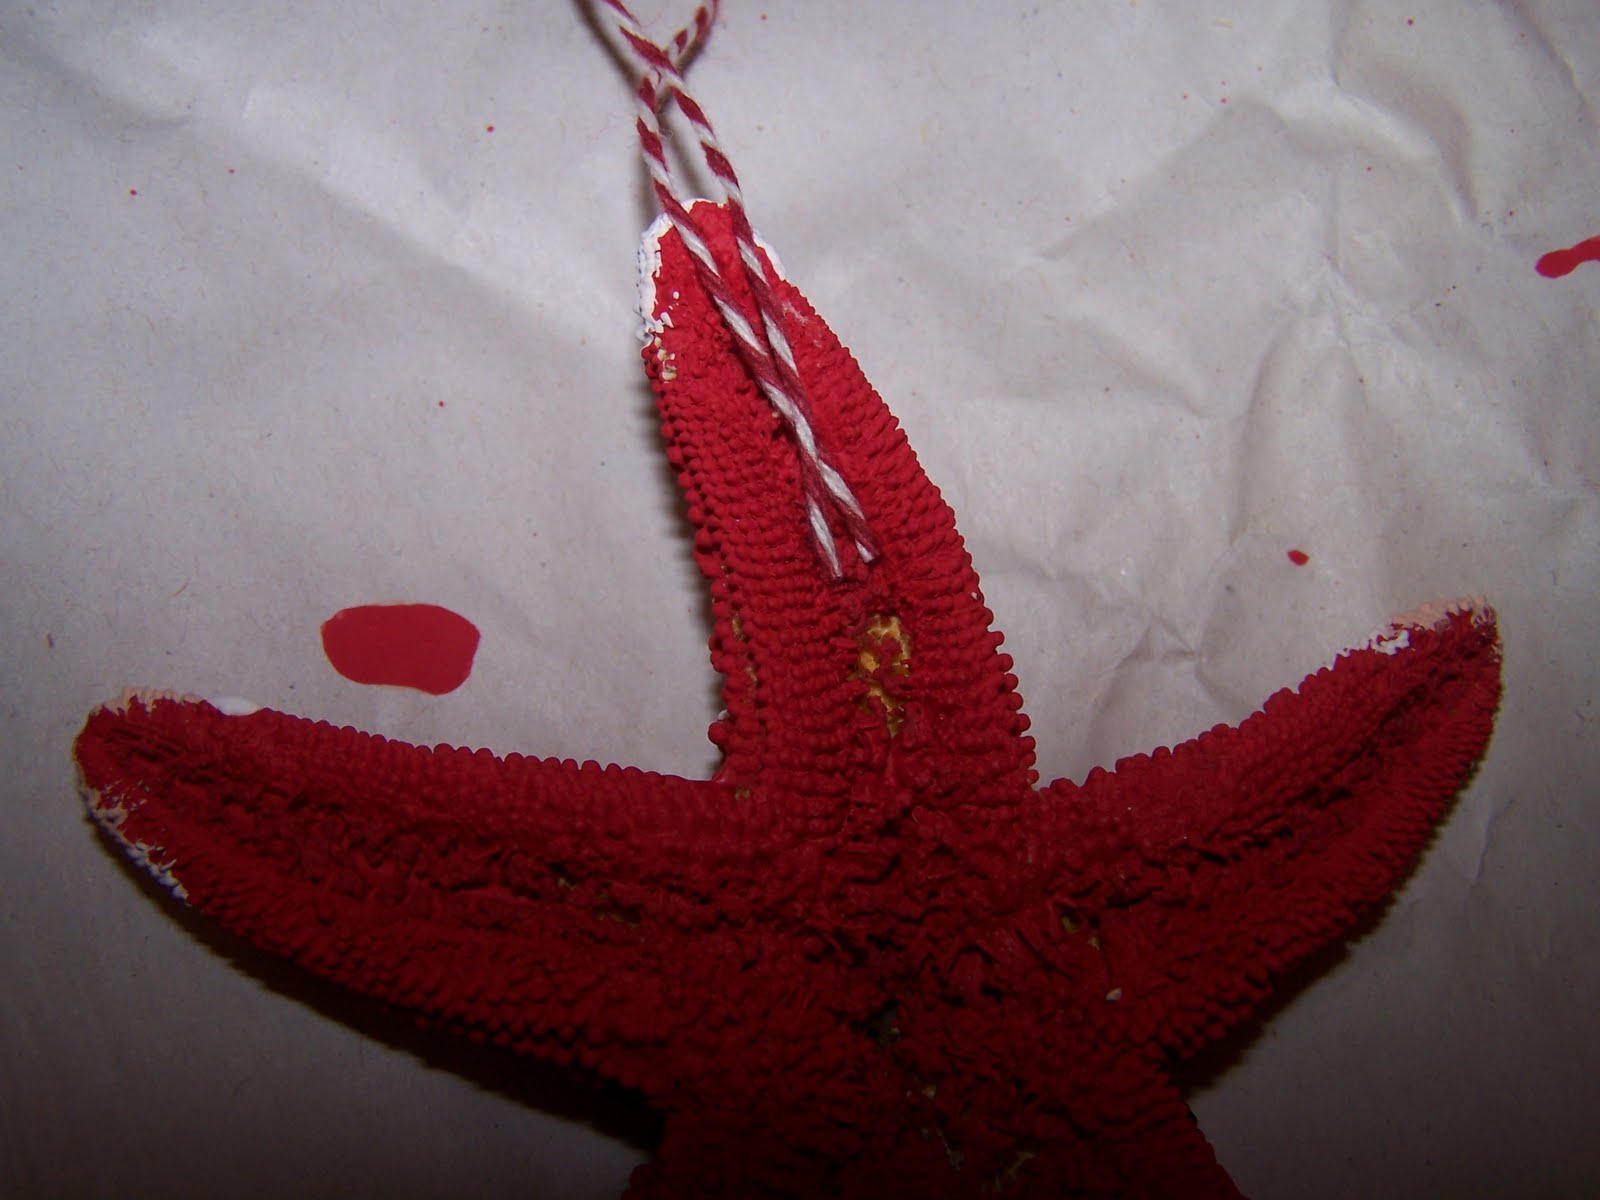
Then glob on some hot glue.
 While the glue is still very warm, carefully press it down into the grooves...careful not to burn yourself though.
Once Santa is dry, he is ready to hang.
Or you can put them in a bowl and take a photo of them...

This one is Kaela's favorite...it is the smallest (about 3 inches across) and she put it on a little tree in loft.

And this one is my favorite. He is really big, about 7 inches across but I think he looks like he is jumping for joy!

PS....Starfish are VERY fragile so when you store them, wrap each ornament individually in tissue, then put them in a box within the big box of ornaments.